
Creating an Appointment Website: A Complete Guide
In the age of e-commerce, it’s essential that every business has an online presence. Whether you’re a small business just starting out or an established business looking to grow, having an appointment website can be a great way to streamline your services and make it easier for customers to access them. In this guide, we’ll explore what an appointment website is, why it’s important, and how you can create one. Let’s get started!
1 What is an Appointment Website?
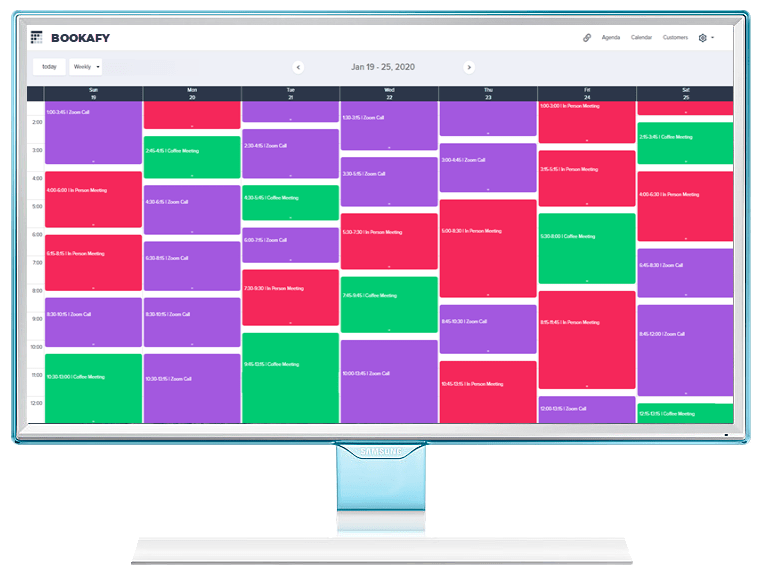
An appointment website is an online tool that allows customers to browse, book, and pay for services. Customers can book appointments, view available time slots, and check out quickly and easily. An appointment website makes it easy for customers to find and book services quickly and conveniently.
2 Why is an Appointment Website Important?
An appointment website is important because it makes it easy for customers to find and book services. It also helps streamline your services and make them more efficient, saving time and money. Additionally, having an appointment website makes it easier to manage your services and keep track of customer data.
3 How to Create an Appointment Website
Creating an appointment website is not difficult, but there are some steps you should take to ensure it’s successful. Here’s a brief overview of the steps you should take:
1. Choose a platform.
2. Design the website.
3. Add content.
4. Test the website.
5. Promote the website.
1 Choose a Platform
The first step in creating an appointment website is to choose a platform. There are a variety of platforms to choose from, including WordPress, Squarespace, Wix, and others. Each platform has different features and advantages, so it’s important to do your research and find the one that works best for you.
2 Design the Website
Once you’ve chosen the platform, it’s time to design the website. This includes selecting a theme, choosing fonts and colors, and creating the layout. It’s important to create a website that’s easy to use and navigate.
3 Add Content
The next step is to add content to your website. This includes adding information about your business, services, and terms and conditions. It’s also important to add images and videos that will help customers understand your services better.
4 Test the Website
Once you’ve added content, it’s time to test the website. This includes testing various functions and ensuring everything works properly. You should also test the website on different devices and browsers to make sure it works properly.
5 Promote the Website
The final step is to promote the website. This can be done through a variety of methods, including social media, email, and search engine optimization. It’s important to promote your website to ensure it reaches the right people.
Conclusion
Creating an appointment website is not difficult, but it does require some planning and preparation. By following the steps outlined above, you can create an appointment website that’s easy to use and navigable, and provides customers with an easy and convenient way to access your services.